Today I wanted to share a very easy way to set up digital signage at your school. I first learned about this while listening to an episode of the Check This Out Podcast. In the podcast, the cohost Brian Briggs shared how he used a Tv, Chromecast, and Google Home to set up digital signage in all of his schools.
I really like this method of digital signage because of the low price point, ease of set up, and the fact that we can collaboratively manage what goes on the screen. So far I have set it up at two of my campuses. While one campus has not utilized it fully, the other loves it and is constantly updating
What can you use this for?
Before we get into the technical info I wanted to share some ideas for how to use this form of digital signage. Below are a few ways that my schools are currently using their digital signage:
- Share photos of what is happening on campus in real-time. Since this method uses the Google Photos app pictures can be sent to the Tv seconds after they are taken.
- Share a slide show of announcements for the week.
- Share a copy of the flyers that have been sent home.
- Spotlight big events.
- Spotlight teachers.
- Spotlight the bright spots on campus.
- Use to promote the school’s initiatives
The Technical Info
Step 1

Download the Google Home App (iOS /Android). You will need this app to set up your Chromecast.
Step 2

Follow these steps to connect your Chromecast to your network.
Step 3

Create an album in Google Photos specifically for the Chromecast
Step 4

Open up the Google Home app that you used to set up your Chromecast. On the home screen tap on the Chromecast’s icon and then click on the gear to access the device settings.
Step 5

Scroll down the settings until you see Ambient Mode. Click on Ambient Mode.
Step 6

Select Google Photos as your photo source.
Step 7

Select the photo album that you created in step 3 as your source.
Step 8

Upload photos to the photo album using Google Photos.
Step 9

Use the Google Photos app on your phone or computer to manage the photo album. You can also share the album with anyone who you want to add photos.
Quick Notes
Below are some quick things to keep in mind when uploading pictures:
- The larger the photos the better. If a photo has a low resolution it will not show up on the screen.
- Landscape photos are best. I have found that this sometimes does not play nice with photos that were shot in portrait mode.
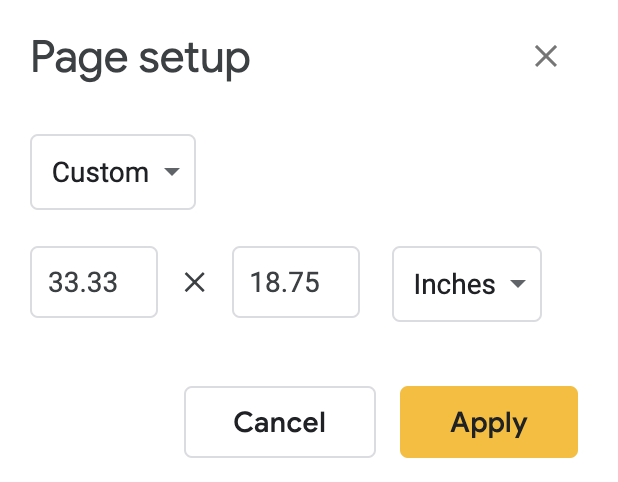
- If you are going to upload pictures of Google Slides I have found that the dimensions below work best. If your slides are too small they will not show up on the screen.